I love the look and feel of woven dress guards. To me they seem more graceful than the solid vinyl type - allowing for the wheel's spokes to remain visible, while still protecting clothing from flying into them. They can also give a bicycle more "personality," as there are many patterns and different installation methods to choose from. A year ago, it was almost impossible to obtain dress guards like these without making them yourself. However, now there are several options available and I have done my best to get my hands on them.
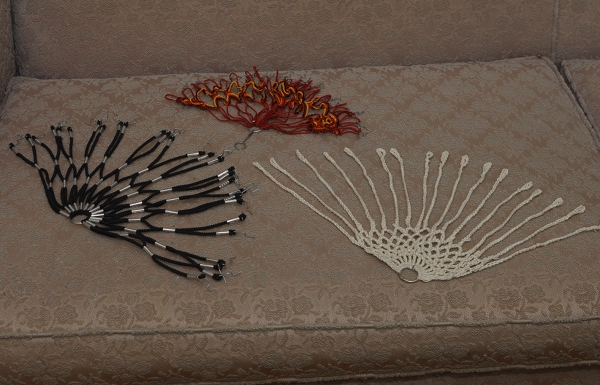
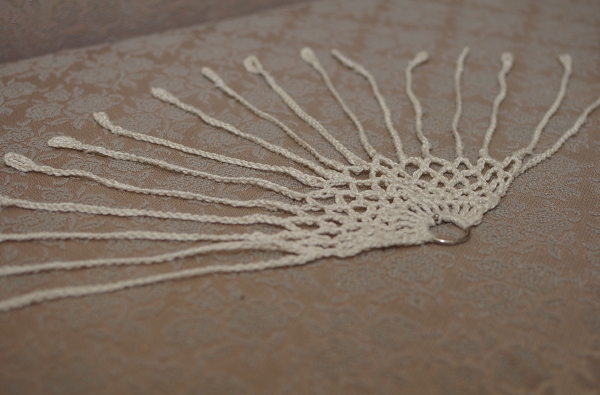
Some of the most beautiful woven dress guards available today are these handmade ones by
Bobbin & Sprocket. They can be crocheted in different patterns, according to your specifications (you can see them
here on
Bobbin & Sprocket's own bike and
here on an
ANT bike). I ordered a set for my mixte a couple of months ago, but have yet to attach them - because I've decided to do a drilled-fender installation, rather than use the clips provided. The clips don't attach securely enough for my fenders - and I am weary of having the guards fall off and get tangled in my wheel spokes. Earlier, I reviewed the Dutch
Simeli dress guards, and clip and fender compatibility was also a problem (they only work on bikes where there is a lot of room between the fender and the tire).
For these reasons, I don't think clipping woven dress guards to fenders is the ideal solution, and suggest the traditional drilled-fender installation instead. I had this done to my vintage
Raleigh DL-1 last year, using a
simple set of dress guards that a reader had sent me from Portugal. The fancy ones in the picture above were a gift from a friend in Autsria, and are waiting for the right bicycle.
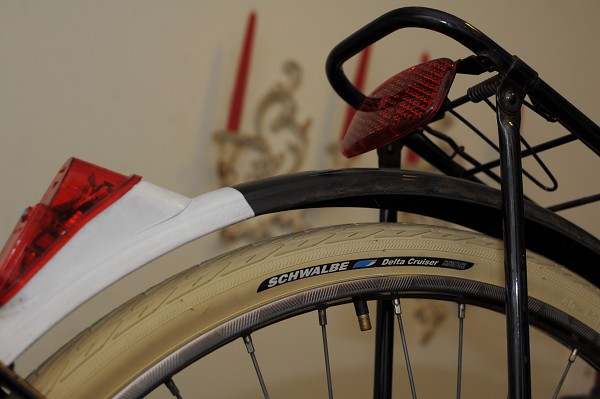
The ones I decided to install on my
Gazelle were this set I bought from Mike Flanigan of
ANT, who has recently begun to order them from Europe. They are simple, stretchy and durable, and I thought the colour scheme suited my
Gazelle nicely. Drilling fenders for dress guards may seem like a daunting task, but the actual act of installing them is not difficult, if you have a good drill. What's difficult is making the commitment: You can't "undo" the holes in your fender once they are there, and nearly every set of dress guards requires a different number of holes.
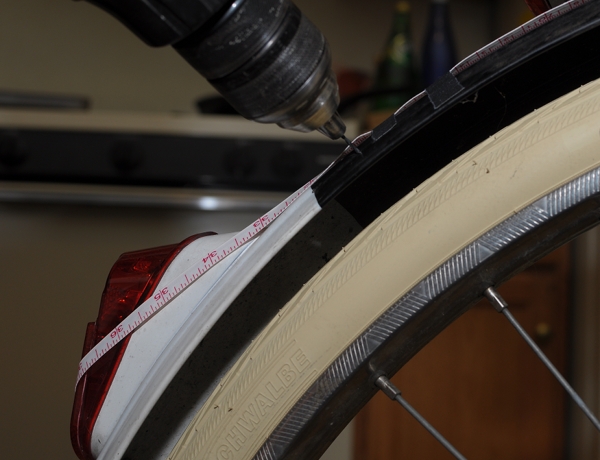
The first step is to consider what part of the wheel you want the dress guards to cover. There is no right or wrong in this regard: If you look at vintage dress guard installations, they are all over the place. Some prefer to cover 1/4 of the wheel, others prefer to cover the entire top half, and others still prefer something in between. Once you choose the coverage area, mark its beginning and end with masking tape. Then, evenly attach a tape measurer along this area. This will allow you to easily mark where the holes are supposed to be. The dress guards I used required 28 holes, which ended up being 1" apart.
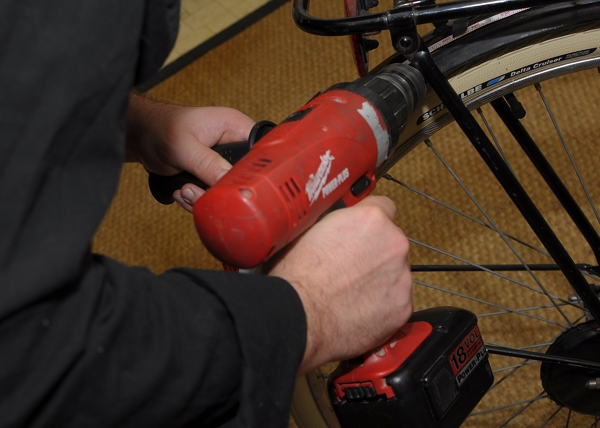
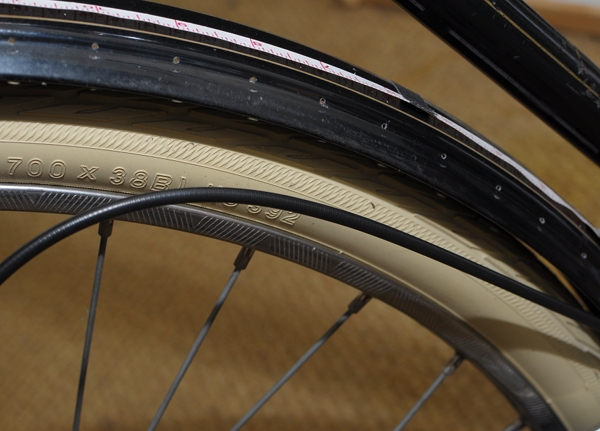
Depending on what bike you have, you do not necessarily need to remove the rear wheel or even deflate the tire when drilling the holes. On Dutch bikes and English Roadsters, there tends to be so much room between the tire and fender, that if you insert the drill bit as far inside the drill as it will go, it will be too short to reach the tire after piercing the fender.
The hooks that come with dress guards are about as thick as medium-sized paperclips, so 1-1.5mm is a good size for the holes. We used a 1mm drill bit.
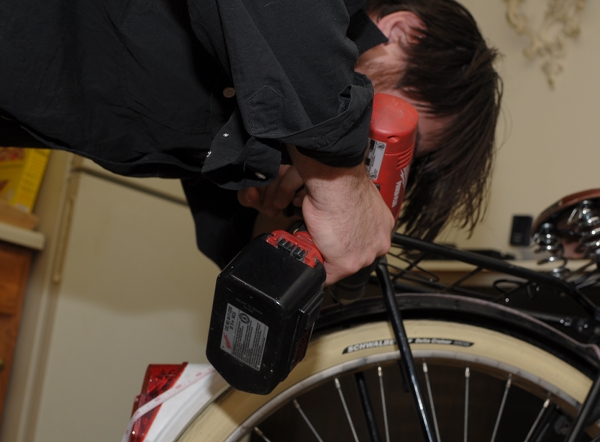
It is good to have a drill with a side handle attachment, as this allows you to keep your hands steady and to have more precise control over the drilling.
I would also suggest using a fresh drill bit and having a spare one before you start, in case it breaks.
And here we go!
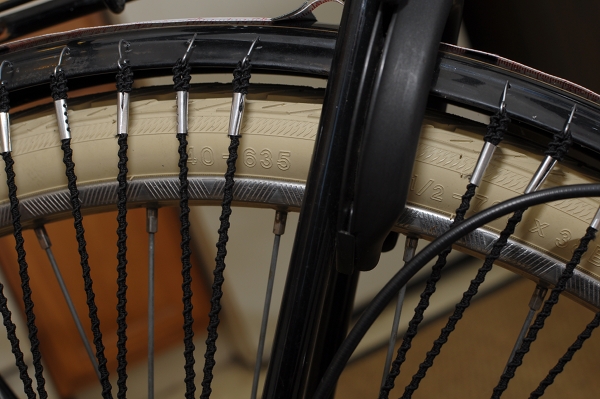
If you measured correctly, the holes should look fairly even - but if not, don't panic. These things are meant to have a hand-made look to them and are forgiving of small mistakes.
Inserting the hooks into the holes is fairly straightforward. One additional step to consider, is leaving room for the "cafe lock" if your bicycle has one. This should be done at the time you are measuring for holes in the first place.
At the drop-outs, the dress guards are typically attached to a bolt using a hook that is provided with the guards. (You will have to remove the nut, then insert the hook, then retighten the nut.) You may have to play around with how you angle that ring to which the cords are attached: The rack stays, the shifter cable and the hub indicator chain may interfere with it, and then you sort of have to angle the ring and insert it over/under, as applicable. Every bicycle is different in this regard, so it is impossible to give precise instructions here.
The important thing, is that in the end nothing sticks out in a way that can catch on your clothing. For example, we crimped the hook on which the ring rests, downward.
And that is pretty much it. Describing the process step by step in itself makes it seem complicated, but it only took us an hour - which I think is good, considering that it was our first time and we were afraid of messing up. You can see the finished installation in an outdoor setting in
this post. Looking at the final result, one could say that these guards could look better if they were fanned out over a wider area - but I wanted the coverage to be denser. It's really a personal choice, and I am pretty happy with how mine have turned out. If you own a drill, this method of dress guard installation is worth considering.
 Posted in: Co-Habitant,DIY,dress guards,fenders,Gazelle
Email This
BlogThis!
Share to Facebook
Posted in: Co-Habitant,DIY,dress guards,fenders,Gazelle
Email This
BlogThis!
Share to Facebook
 14:00
14:00
 kaniamazdar


0 comments:
Post a Comment